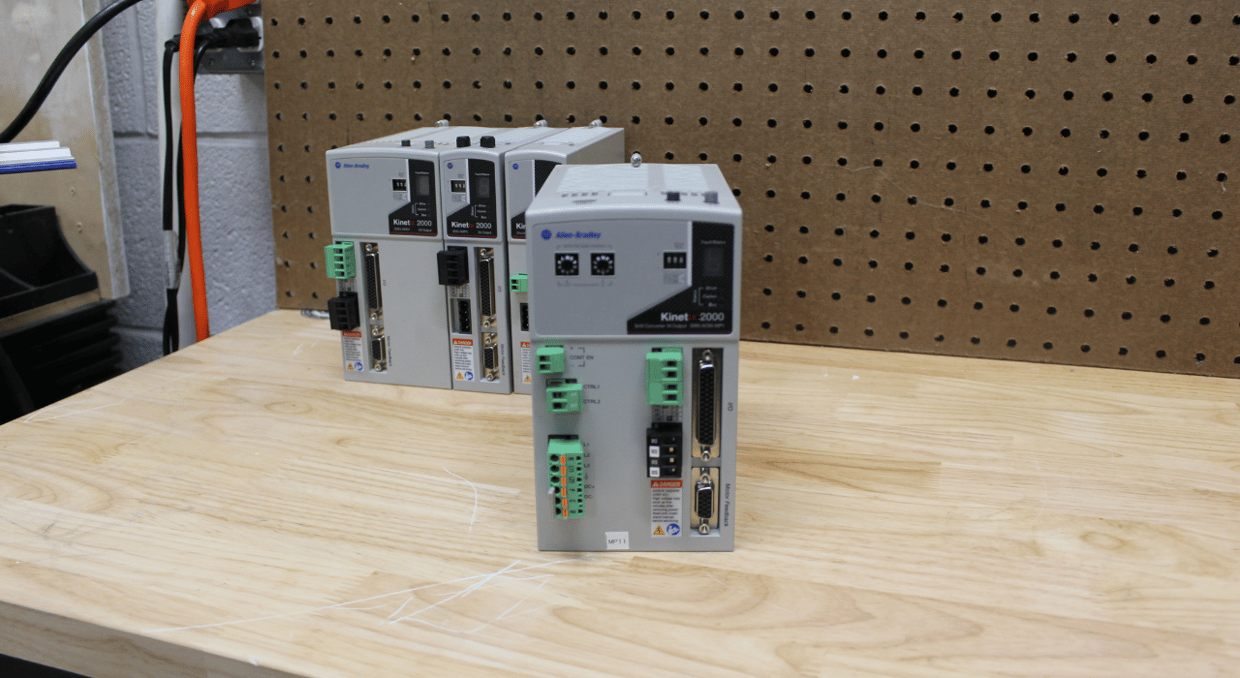
Troubleshooting Tips for Allen Bradley Drives
Troubleshooting Allen-Bradley drives can be critical to ensure smooth and efficient operation in various industrial applications. This article provides valuable tips and solutions to common issues that users may encounter with their drives, helping them quickly identify and resolve faults. Whether dealing with motor acceleration problems, encoderless mode challenges, or fault codes, this article offers practical troubleshooting steps and best practices. With clear instructions for diagnosing faults, handling warnings, and managing drive resets, these tips will help optimize drive performance and minimize downtime, ensuring the reliability of your Allen-Bradley drive systems.
Understanding Fault and Warning Handling
When an issue arises with your Allen-Bradley drive, the Velocity Processor (VP) and Current Processor (CP) light on the main control board provides critical diagnostic insights:
Solid Green: No fault.
lashing Green: Drive warning detected.
Flashing Red: Drive soft fault detected.
Solid Red: Drive hard fault detected.
Fault Categories and Resolutions
Hard Faults: These stop the drive completely and require either a Drive Reset command or a power cycle.
Soft Faults: Also halt the drive but require addressing the cause followed by a Clear Faults command.
Warnings: Highlight undesirable conditions without stopping the drive. Address the underlying issue promptly to prevent escalation.
Faults that appear on the HIM are logged in configurable or non-configurable queues. Configurable faults can be adjusted as warnings, while non-configurable faults are critical conditions designed to protect the drive.
Look at the Faults and warning messages on HIM
Take these actions to see the fault queue:
- To go back to the Choose Mode menu, use the Escape key.
- Press Enter after selecting Control Status using the Increment or Decrement key.
- Press Enter after selecting Fault Queue.
- Press Enter once again to bring up View Queue.
Up to 32 faults are stored in the fault queue, and a trip indicator indicates if the fault resulted in the drive tripping. Every malfunction is assigned a number according to its location, and the first malfunction following a power-up is identified by a time stamp that indicates when it happened.
To clear the fault queue, select Clear Queue from the options. Viewing the warning queue follows the same process, substituting the Warning Queue for Fault Queue in the navigation.
Common Fault Codes and Suggested Actions:
01027 – Autotune Diagnostic (Soft Fault)
Indicator: VP, Flashing Red
Cause: Autotune test failure.
Action: Check Autotune Errors and refer to the autotuning procedures.
01051 – Motor Overload Pending (Soft Fault)
Indicator: VP, Flashing Red
Cause: Drive reaching 95% overload.
Action: Reduce accel/decel times, lower the load, or adjust Motor Overload %.
01052 – Motor Overload Trip (Soft Fault)
Indicator: VP, Flashing Red
Cause: Motor overload limit exceeded.
Action: Same as for 01051.
01053 – Motor Stall (Soft Fault)
Indicator: VP, Flashing Red
Cause: Motor in stall condition beyond Motor Stall Time.
Action: Check Torque Limit Sts, adjust limits, or reduce the load.
01083 – Motor Overload Pending (Warning)
Indicator: VP, Flashing Green
Cause: Motor nearing overload trip.
Action: Same as for 01051.
Start-Up Troubleshooting Procedures for Allen-Bradley Drives
Your Allen-Bradley drive’s operation may be interrupted if you run into problems during startup. The following are methods for resolving typical startup issues:
Unable to Access the Startup Procedure
Cause: The HIM does not support the startup process.
Solution: Check the version of HIM. Examine the HIM’s back for the series letter, or look at the version shown when it was powered on.
Fault of Feedback Loss
Cause: An encoder defined in the system has been unplugged.
Solution: Make sure the encoder is configured correctly and reconnect it.
The motor doesn’t turn during the phase rotation test
Cause: Problems with the autotune or load setup.
Solution: Run the autotune tests again after removing the load. Do a manual inertia test after reattaching the load.
Request to Switch Encoder Leads Several Times
Cause: There is no speed feedback on the drive.
Solution: Verify that the encoder and motor are connected.
Repeat the process of phase rotation and keep a check on the speed of the motor; for a 60 Hz 4-pole motor, it has to ramp to 3 Hertz or 90 RPM.
If the motor speed stays at zero RPM, then examine the wiring of the encoder and check the encoder’s operation.
Miscellaneous Troubleshooting Procedures
Drive Start, Stop, and Speed Issues
Verify the L Option Mode to make sure the 2- or 3-wire configurations are accurate if the drive starts and stops suddenly. The problem could be indicated by the HIM’s fault messages. While beginning delays are linked to Start Dwell Time, stop command delays are frequently related to Stop Dwell Time. Make the appropriate adjustments to these settings.
Verify speed references in Inv/Drive Status and settings like Spd/Trq Mode Sel if the motor is not turning or is operating at the wrong speeds. Coasting on stop could be a sign of incorrectly set Logic Options stop type bits. Resetting the drive’s default settings and executing the startup process can assist optimize the drive for improved performance.
Faults, Direction, and Torque Troubleshooting
Verify the Ramp/ClFlt Owner, Clr Flt/Res Mask, and SP Enable Mask to fix issues. A drive reset or power cycle may be necessary for some issues. If the drive cannot change direction, make sure Logic Options is not preventing direction changes, check Dir/Ref Mask, and delete any conflicting settings in Dir/Ref Owner. Retuning the drive by resetting the settings and restarting may be necessary if there are torque problems or overcurrent failures. Verify the accuracy of encoder setups such as Encoder PPR and Spd/Trq Mode Sel. These modifications are essential to get the best torque and current management.
External Inputs and Overload Management
Make sure that the scale parameters (135,138) and SP An In1 Select are set correctly for problems with HIM or analog inputs. Validation of L Option Mode, proper jumper settings, and precise scaling in settings 120–122 are necessary for external inputs, such as MOP or pulse.
Excessive load or incorrect setups may result in overload trips and decreased speed range. Examine parameters such as the percentage of motor overload, scaling inputs, and speed constraints like the minimum speed limit. Adjust these settings to get operations running smoothly again.
Encoderless Troubleshooting Procedures:
Adjusting a few things can help with frequent encoderless mode difficulties. Increasing the Spd Desired BW (bandwidth) is the first thing to do if the motor doesn’t accelerate or starts erratically. Even if the current hits the limit, poor bandwidth might keep the motor from accelerating correctly. Increase the torque and current restrictions to their highest settings to further maximize the motor’s performance. Increasing the value of Kp Freq Reg is an additional modification to take into account.
If the process allows, reducing the Spd target BW bandwidth might be the solution if the motor oscillates after attaining the target speed. In certain situations, stabilizing the oscillation can also be achieved by modifying the Error Filter BW value.
Try extending the acceleration period if the inverter trips on startup because of absolute overspeed. Increasing Kp Freq Reg can assist in removing overspeed that occurs during rapid acceleration. Overspeed trips during a reversal can also be avoided by modifying the deceleration duration (slower deceleration) and lowering the bandwidth in SPD Desired-BW. These modifications assist in maximizing the drive’s performance in encoderless mode and guarantee smoother operation.
In conclusion, troubleshooting Allen-Bradley drives involves a systematic approach to diagnosing and resolving faults, warnings, and operational issues. By understanding fault codes, utilizing the Human Interface Module (HIM), and following proven troubleshooting procedures, users can effectively address common challenges like motor overloads, encoder issues, and drive resets. Proper handling of faults, adjustments to settings, and regular maintenance help optimize drive performance, reduce downtime, and ensure the longevity of your system. With these troubleshooting tips, users can maintain reliable and efficient operation of their Allen-Bradley drives, keeping their industrial processes running smoothly.
Troubleshooting drives can be frustrating, and we understand this enough to offer our in-house repairs, all backed by a two-year warranty. Our expert technicians will get your drives working as they should or replace them if they are too far gone within an industry-leading 1-2 week turnaround time. If replacing your old broken drive is on the table, we offer many different drives that can replace or upgrade what you currently have. Feel free to give us a call or email today!
DO Supply Inc. makes no representations as to the completeness, validity, correctness, suitability, or accuracy of any information on this website and will not be liable for any delays, omissions, or errors in this information or any losses, injuries, or damages arising from its display or use. All the information on this website is provided on an "as-is" basis. It is the reader's responsibility to verify their own facts.