Tutorial: How to Change the IP Address on a PanelView Plus 7
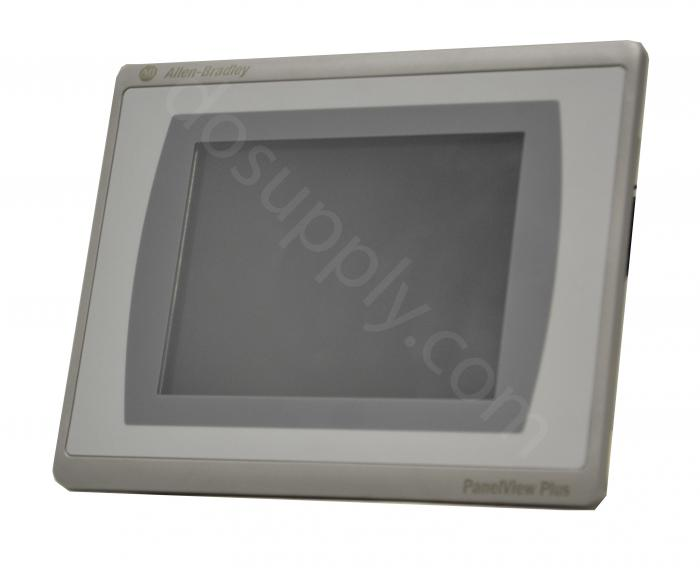
Automation and control systems run the gamut from both simple to complex as well as small to large. Allen Bradley’s PanelView Plus 7 was introduced to better visualization for larger and more complex applications. In addition to best-in-class functionality, the PanelView Plus 7 offers a larger screen and much more processing power.
In today’s complex manufacturing environments, visualization is critical to manage production or process flow. To do this, companies rely on multiple terminals as well as many PCs for both remote monitoring as well as programming. The PanelView Plus 7’s embedded Ethernet capability and two Ethernet ports allow it to function in a number of complex control solutions such as device level ring topology.
The Ethernet connectivity is key to the PanelView Plus 7’s success in allowing managers and technicians direct as well as remote access to configure devices, troubleshoot process issues and review and address alarms. Because of its importance to the PanelView Plus 7’s performance, having the right IP address for the IP address, subnet masks and gateway devices is critical. This tutorial will walk you though the steps for changing the IP address.
Changing the IP address on the PanelView Plus 7
Step 1: Access Configuration Menu – Getting into configuration mode can be done on boot up. However, this is not enabled by default, meaning the user must press the touchscreen button in white, or use F1 to interrupt the boot.
Step 2: Network and Communications Menu – From the configuration menu, select the Terminal Settings button, or press F4. This will take you to the list of functions used in terminal settings. These include event logs, startup options, input devices, and others. Select and highlight Network and Communications and click the enter button.
Step 3: Network Connections Menu – Under Network and Communications, four options will appear. They are KEPServer Serial Port IDs, RSLink Enterprise Communications, LDAP Configuration and Network Connections. Select Network Connections and click Enter.
Step 4: Network Adaptors – Under Network Connections, select Network Adaptors from the menu that includes Device Name and Network Identification. Then click Enter.
Step 5: Ethernet Controller Menu – Under network adaptor, you must select the network controller. This may be generically named as Built-In Network Controller. Or, it may have a unique name entered for reference during previous programming such as Allen-Bradley Built-In Network Adaptor. Unlike previous progress, there is no Enter button. Instead, select the IP Address (F2) button at the bottom and click.
Step 6: Adding the IP Address – Depending on the complexity and configuration of the control system, there are several options for entering IP address. The first is the IP address itself. This is the top field and can be added by entering the number and clicking the IP Address (F1) button.
Step 6A: Subnet IP Addresses – However, in more complex control environments, where there are multiple devices that will be communicating with the PanelView Plus 7, you must also enter the IP address for the Subnet Mask. This is the second field and is indicated by the button labelled Subnet Mask (F2). This allows the PanelView to communicate with PLCs and other control devices located on a subnet.
Step 6B Gateway IP Addresses – If the system utilizes routers to allow managers, technicians and others to access the PanelView remotely, the IP address for the router will need to be entered into the Gateway (F3). This will enable remote access to the PanelView 7.
Step 7: Resetting the System – Once the addresses have been entered, click OK (F7) at the bottom of the window. This will bring up a popup. The popup will warn you that the device needs to be reset for the addresses to take effect. The message will instruct users to remove and re-insert the PC card if the adapter is a PC card. And if it is built in, the device will need to be repowered. Note: If the Ethernet cable is not connected, the addresses will not save.
Step 8: Closing Out Menus – Once the addresses have been saved, you must close out of all menus. This can be done with the Close (F8) button at the bottom right to close out of the Network Adapters, Network Connections, Network and Communications and Terminal Settings windows.
Step 9: Reset – Once you have closed out of the four menus, you can click Reset (F7) to restart the system and ensure that the new addresses are saved.
To check network status, you can double click on the network icon. This will display Network Status Information such as the type of system topology, IP addresses, and MAC addresses for the PanelView Plus 7.
DO Supply Inc. makes no representations as to the completeness, validity, correctness, suitability, or accuracy of any information on this website and will not be liable for any delays, omissions, or errors in this information or any losses, injuries, or damages arising from its display or use. All the information on this website is provided on an "as-is" basis. It is the reader's responsibility to verify their own facts.